


Kūmara need at least four months of sunshine before they are ready to harvest.
So, around February, March or April is when you can expect to start digging into your crop. It’s important you harvest before the first frost. Around this time the leaves may start to yellow, which is a sign they’re ready. But if you live up north this probably won’t happen. So, around four months after you’ve planted put your hand in the ground and gently see if the kūmara feels ready – this is called tickling!
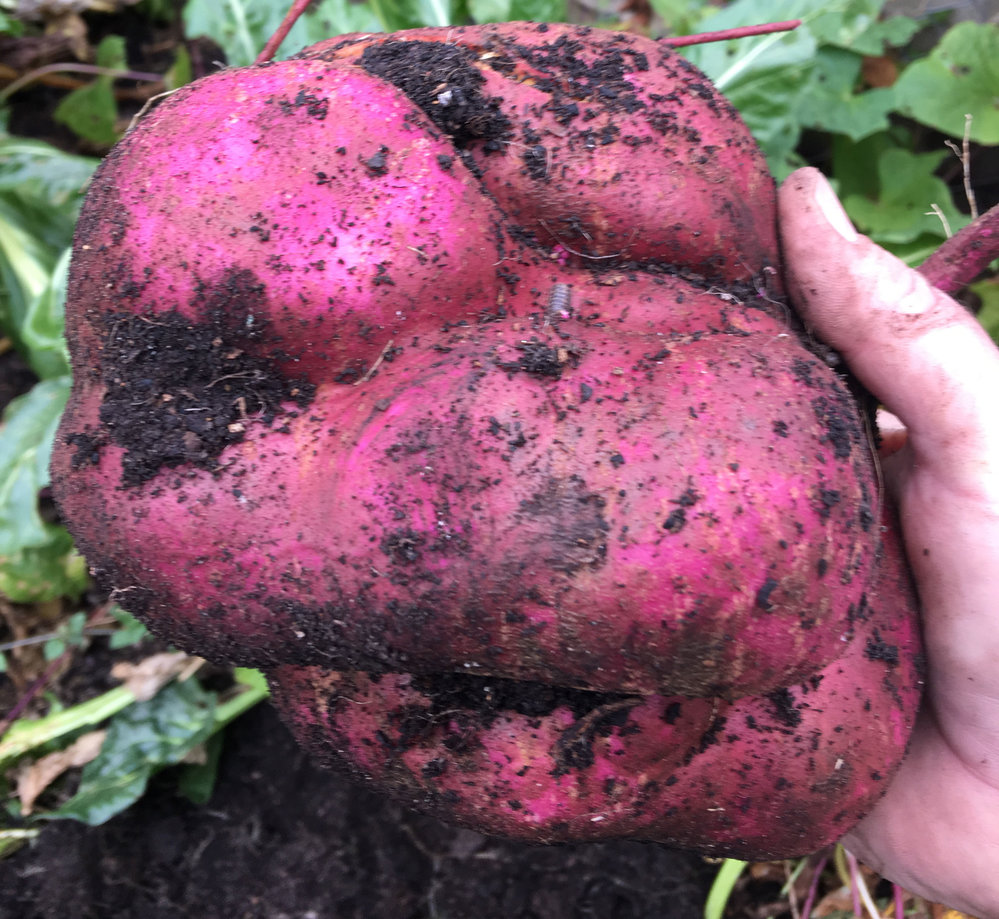
When you know they’re ready, harvest very gently. Broken kūmara won’t store. You may have to really follow the plant around with your hands under the soil to ensure they come out without breaking.
If you want to store them for a long time it’s important they are cured properly. This is when the starch is converted to sugar and a second skin is created that allows them to last longer in storage. If they’re cured well they can last for up to a year in storage. The professionals use temperature and humidity controlled storage sheds to do this but you can try and replicate this in a few ways.
Once they’re out of the ground keep them at a temperature of around 25-30 degrees Celsius with high humidity (around 90%) for at least seven days – including at night. If you need to increase the humidity, try putting them in a box and covering with a blanket or plastic with some holes in it. While you want it humid and hot, you want air circulating so they don’t go mouldy. When they’re cured the skin should be harder and any bruises or cuts should be dry and clean looking.
Then store them in a dark place around 14 degrees Celsius. You can also wrap each kūmara in newspaper or brown paper bags – this will help provide air circulation and prevent them from rotting. Keep an eye on them and remove them gently when you want to use them.